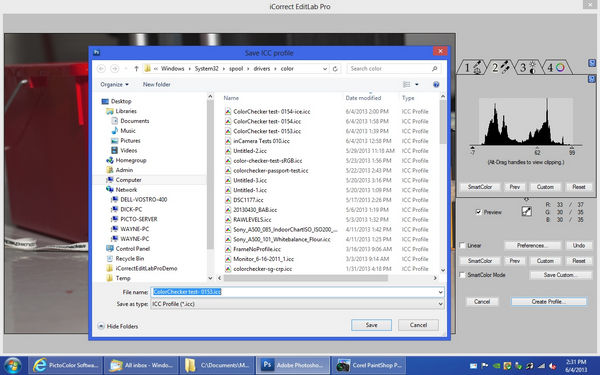
Creating custom ICC profiles with Photoshop
Lightroom and iCorrect EditLab Pro is quite easy. Image Courtesy of Bruce Law Photography
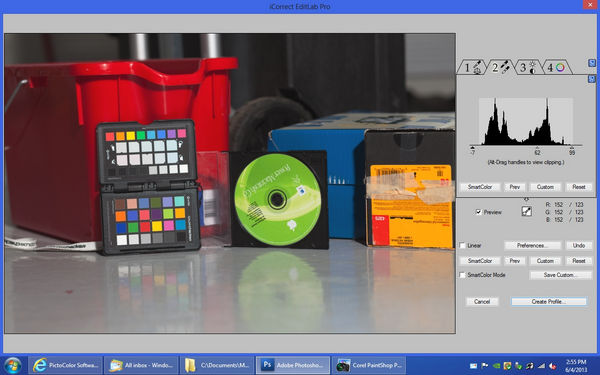
After opening an image of the ColorChecker Chart as you normally would, notice how the default White Balance settings (As Shot) produce an overall blue-cast to the image? |
|
 Click for Larger Image We want to begin by correcting this with the White Balance Tool. |
|
 Click for Larger Image Set the White Balance with the White Balance Tool in the upper left. Activate the WBT and then click on one of the medium gray color patches on the bottom row of the ColorChecker Passport. |
|
One of the most
unique and useful capabilities of the HueSelect
tool is the way it allows you to selectively adjust
colors and light with great precision without the need for complex masks
or other cumbersome, less accurate selection tools. Click for Larger Image This is particularly useful for bringing back and adjusting the strength and brightness of the specific colors in an image on a very precise, hue-selective basis. In this instance, we can bring back the color of the roses by selecting the corresponding control and adjustiing the Saturation to the desired amount. |
|
 Click for Larger Image We can bring back softer and more subltle skin tones in the same fashion by selecting the control point the corresponds to the prominent skin tones. |
|
 Click for Larger Image Finally, we may want to step back for a final look to see if anything needs further refinement or adjustment. Here, we may want to shift to the third tool set for adjusting exposure to deepen the shadows and boost the highlight or tweak the overall contrast to give the final image an even richer, yet softer look. |
|
 Click for Larger Image This is just one example of how iCorrect EditLab Pro can be used to create more dramatic images with greater impact so you can express and showcase your creative vision more easily. |
|
 Click for Larger Image |

|
|
|||
|
|
|
DEMOS
|
