 |
When using EditLab as a profile editor, you must be a little careful how things are handled, both before and after using EditLab. Here is a step-by-step procedure.
1. Open your image in Photoshop
The image that you use should come from the source associated with the profile you intend to edit. For example, if you are going to edit a digital camera profile, the image should be from that same camera, shot under the same conditions for which the profile is valid. When the image is opened, you must assign the profile and then convert to your RGB working space. If you are not sure how to do this, you will find detailed instructions here. It is very important that this process is done properly!
2. Run EditLab
Use EditLab to make whatever changes you like.
Click the "Edit Profile…" button.
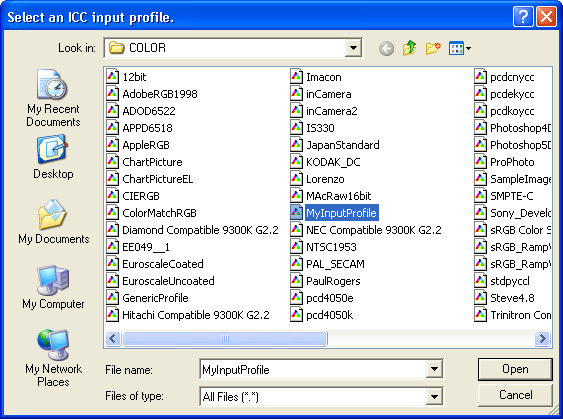
3. Open the ICC Profile
You will be asked to locate the profile to which you want the edit applied. You should select the same profile that was assigned to the image in step 1 above. Note that EditLab can only edit input profiles, such as used with scanners or digital cameras.

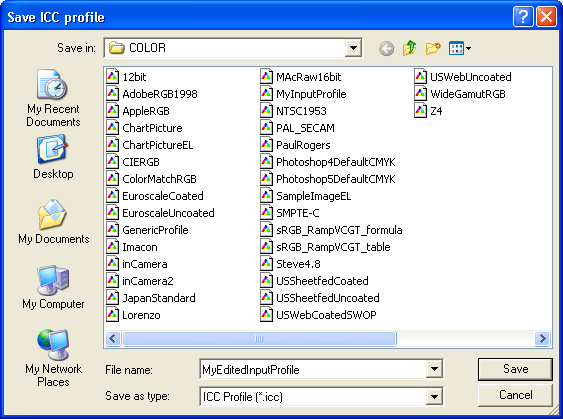
4. Save the Edited ICC Profile
You will then be asked to provide a name and location for the edited profile. You may overwrite the original profile if you want, but we recommend that you save it under a new name.

5. Using the Edited ICC Profile
You use the edited profile by assigning it to images in the same way that was used in step 1. If you want to use it with the image that is currently open (which was used with EditLab to create the edit), you must first close the image (without saving) and then reopen it as described in step 1, but this time assign the edited profile.